
.resx and .resources files hold the strings, images, and other data that a .NET application loads at run time. The usual way to edit one is to open the whole solution in Visual Studio and use its resource grid. That is a lot of overhead when all you need to do is fix a translated string, swap an icon, or check what a third-party assembly ships inside its resources.
Resource Builder opens .resx and .resources files directly. You edit the entries with the same tree view and the same visual editors it uses for native Windows .rc/.res resources, then save the file back in place. No solution, no build, no Visual Studio license required. This is useful for translators and designers who do not run Visual Studio, for quick fixes on a build machine, and for inspecting or adjusting resources in an assembly you did not compile yourself.
What these files are
There are two related formats:
- .resx is an XML file. It is what you edit during development. Each entry is a node with a name, a type, and a value.
- .resources is the compiled binary form of the same data. It is what the build produces and what actually ends up embedded in your assembly.
Resource Builder reads and writes both, and can convert between them.
Opening a file
Use File > Open and pick the file. The Open dialog has an “All supported files” filter that already lists .resx and .resources, plus separate “ResX Scripts (*.resx)” and “.RESOURCES Files” entries if you want to narrow the list.
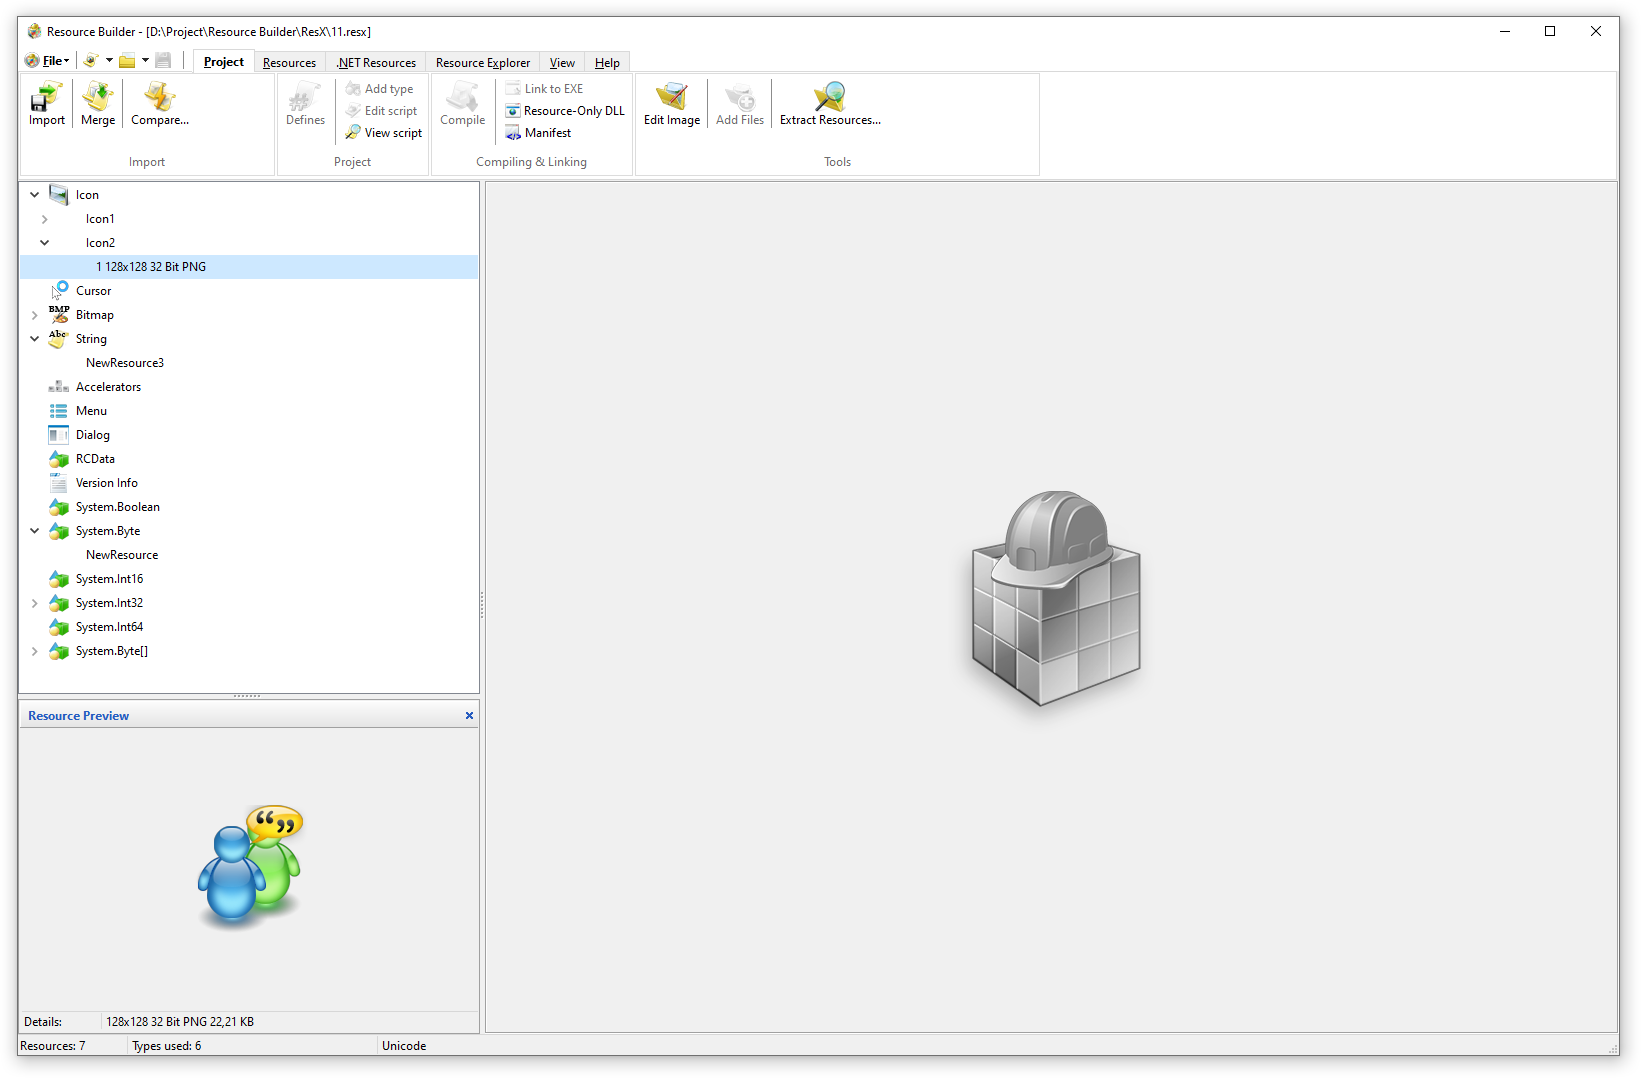
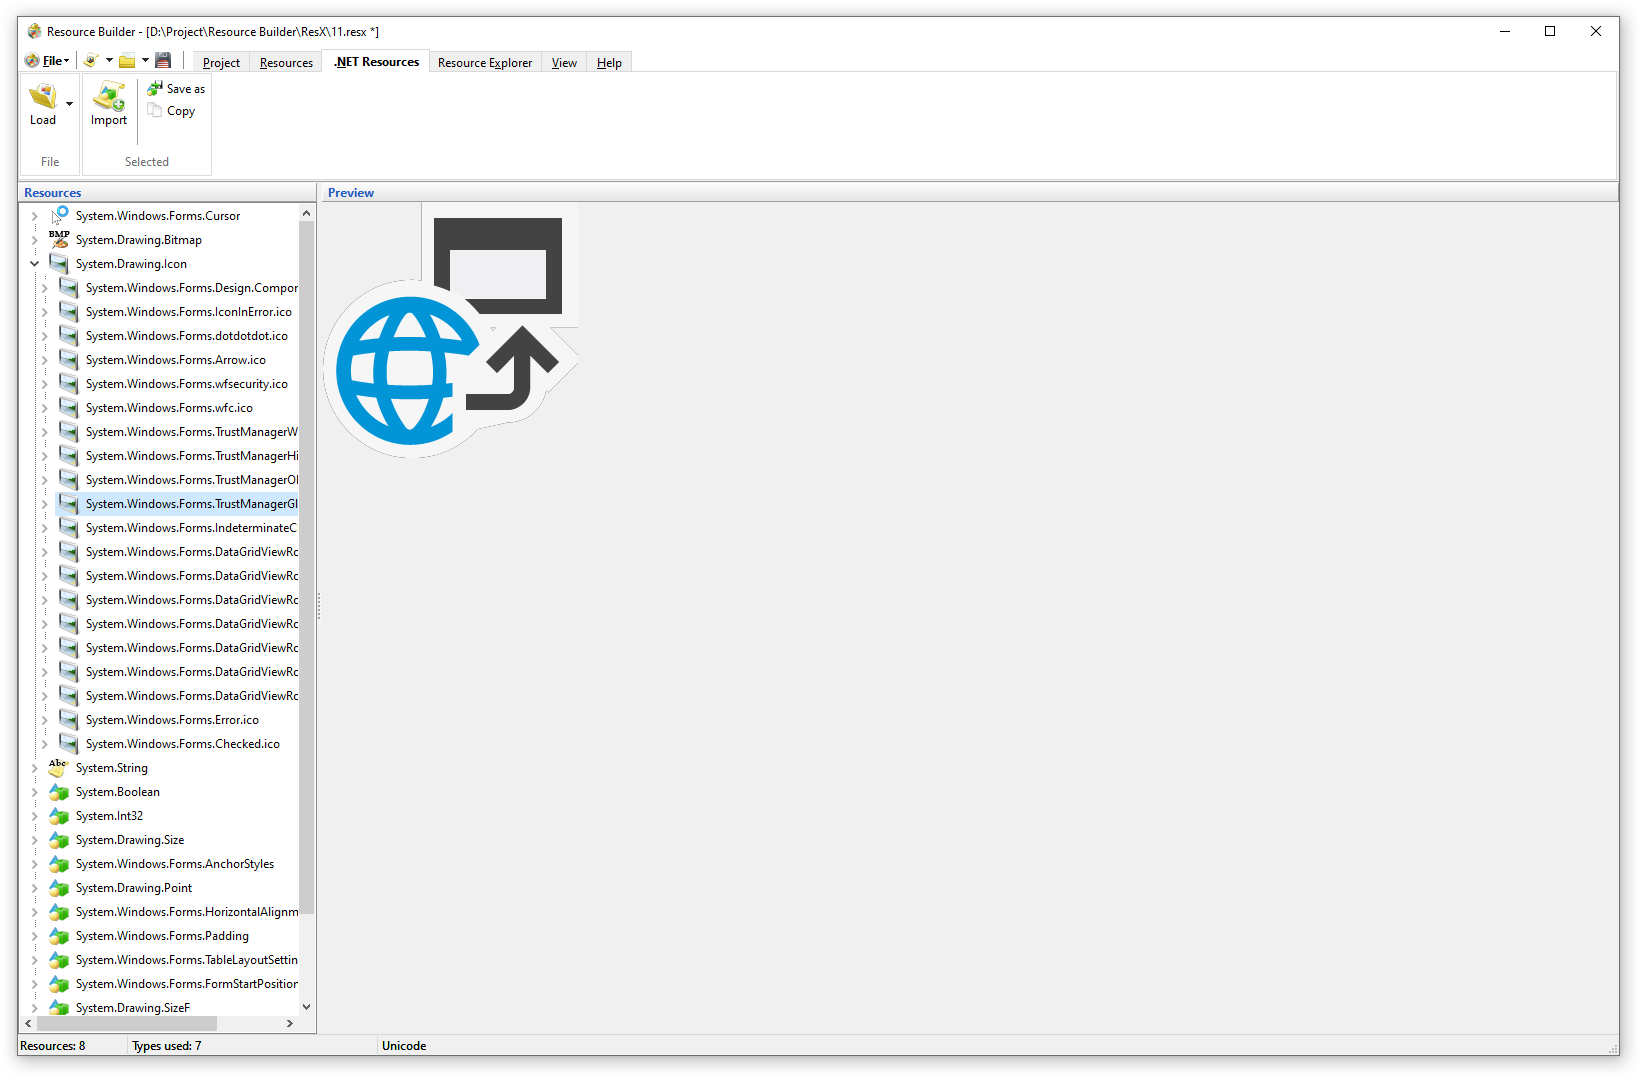
Resource Builder parses the file and shows every entry in the project tree, grouped by type:
- String entries appear under a String group.
- Images appear under Bitmap, Icon, and Cursor groups.
- Every other .NET type gets its own group named after the type, for example System.Int32.
Selecting an entry shows a preview and its details (image dimensions and pixel format for images, byte count for everything else) in the status bar.
Editing text values
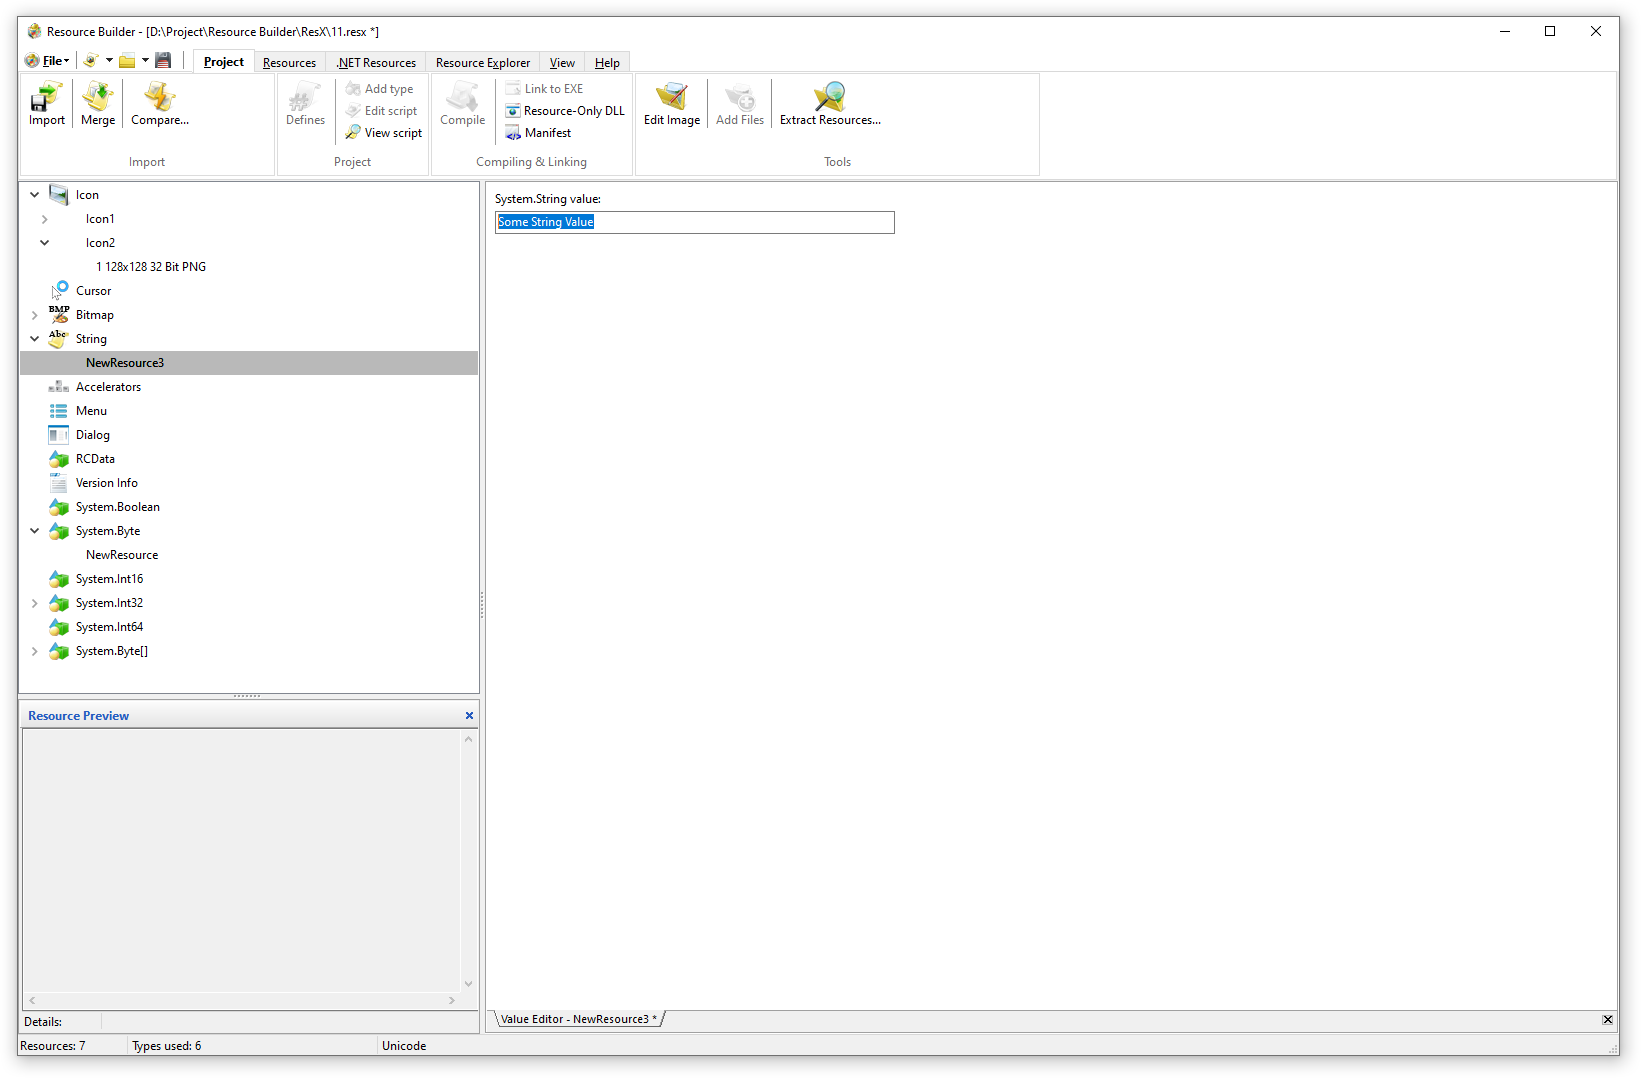
Double-click a string entry, or select it and press Enter, to open its value editor in a tab. Edit the text and the change is held in the project until you save.
To rename the entry itself, press F2 or use Rename on the right-click menu. The name is the key your code uses to look the string up, so keep it identical to what the source expects.
Editing booleans and numbers
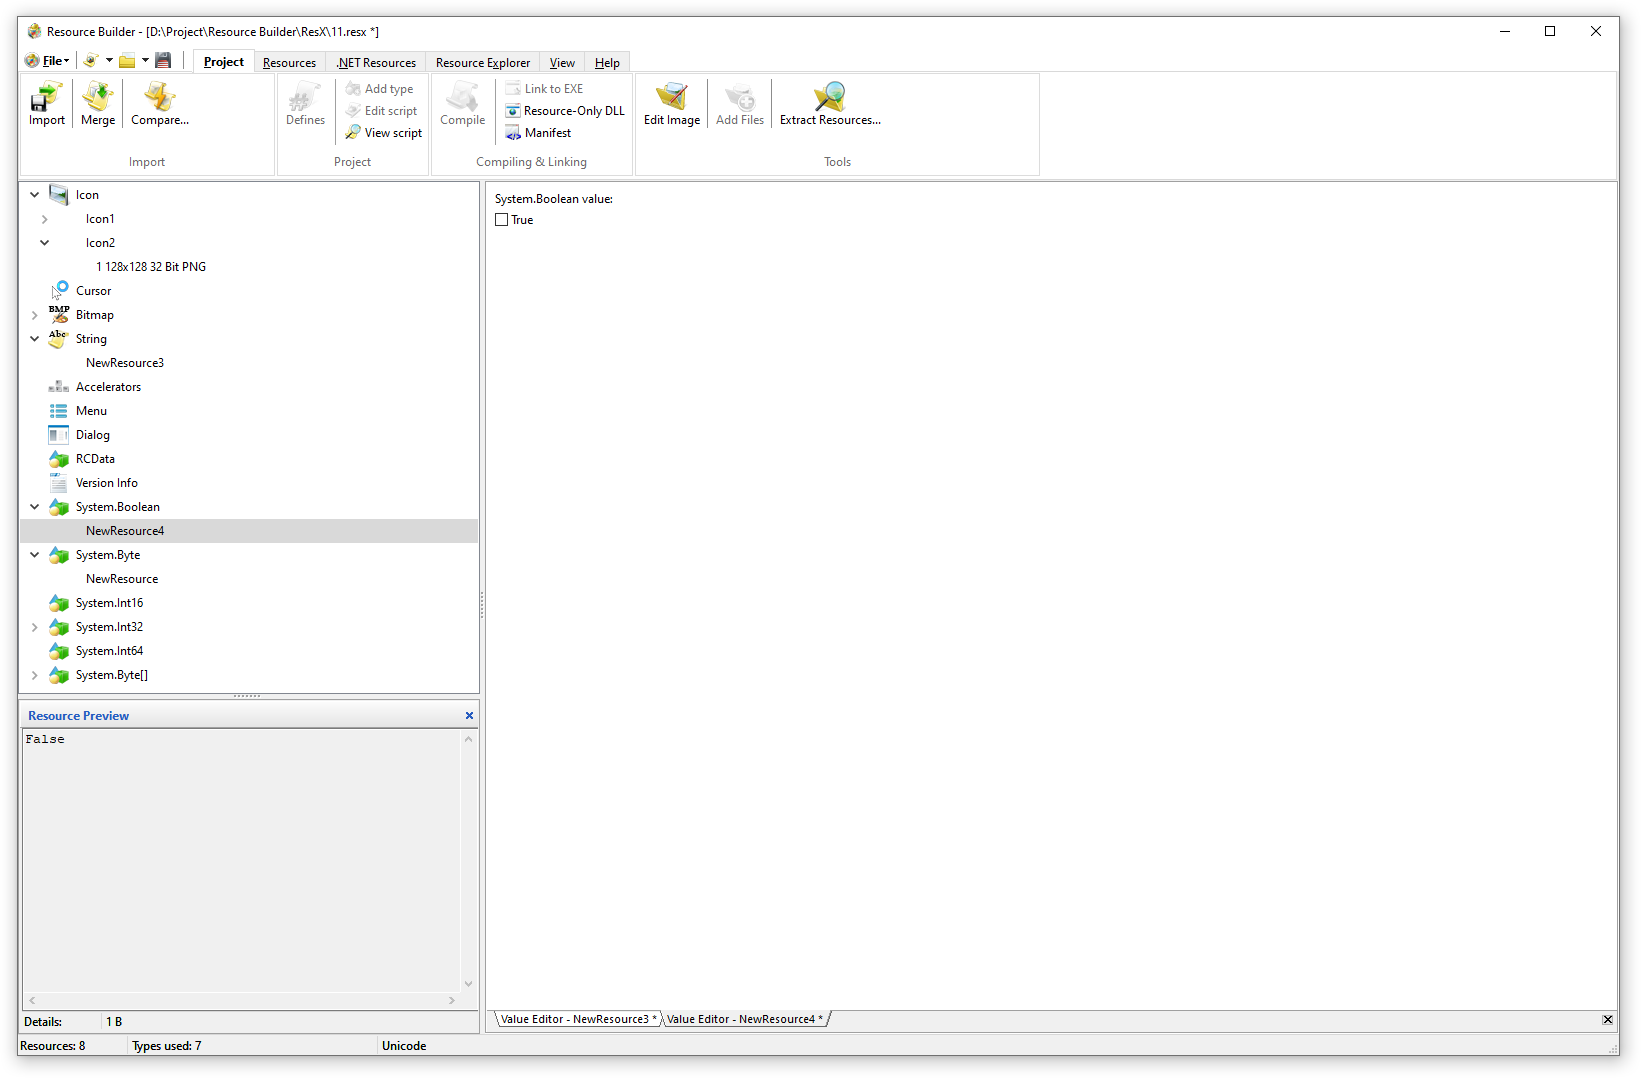
Boolean entries open with a checkbox instead of a text field. That is deliberate: a free-text editor let you save something like true with a trailing space, or Yes, which .NET then reads back as False without any warning. The checkbox removes that whole class of mistake.
Byte, Int16, Int32, Int64, and byte-array entries open in the same value editor, with parsing appropriate to the type so an invalid number is rejected rather than written out.
Editing images
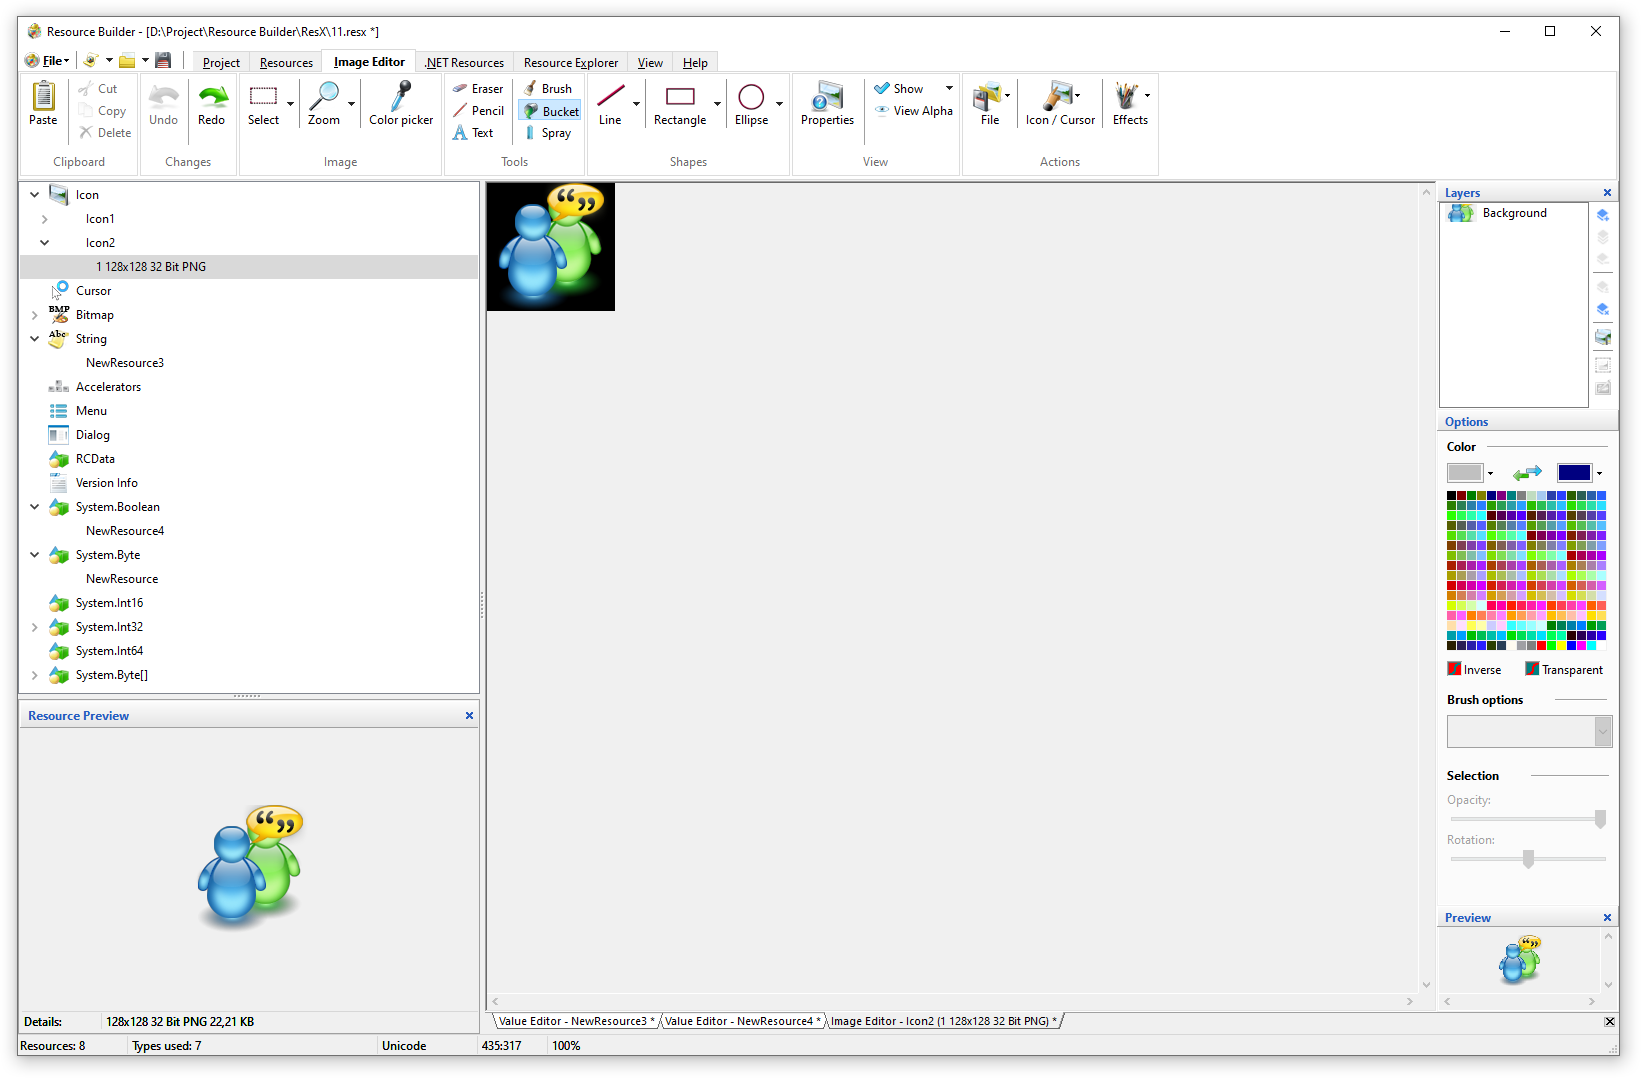
Bitmap, Icon, and Cursor entries open in the full visual editors, the same ones native resources use:
- Bitmaps open in the multi-layer Image Editor.
- Icons and cursors open in the icon editor. Adding a new one runs the same multi-size New Resource wizard native projects use, so a single icon entry can carry 16×16 through 256×256 frames at several color depths.
- To replace an image outright, select the entry and use Update from File. It accepts PNG, BMP, GIF, JPEG, ICO, CUR, SVG, WebP, and more.
Resource Builder handles both the modern .resx convention, where an image is stored as raw file bytes, and the older wrapped encoding that some legacy .resx files still use, so images from either kind of file load correctly. On save, the original encoding of an image you did not touch is preserved.
Adding, renaming, and deleting entries
Right-click a group node to add a new entry of that type, or use the Resource menu. Rename with F2, delete with Del.
Anything Resource Builder does not have a dedicated editor for is carried through untouched. It round-trips exactly as it was read, so nothing in the file you did not edit gets dropped or rewritten. In a .resx, comments, <metadata>, and <assembly> references are kept as well: the writer only rewrites the specific <data> nodes you actually changed.
Saving, and converting between the two formats
File > Save writes the file back in place. File > Save As lets you write it out as the other .NET format, so you can turn a .resx into a compiled .resources, or go the other way.
You can also convert a .resx or .resources file into a native Win32 .res or .rc file. Bitmap, Icon, and Cursor entries become real BITMAP, ICON, and CURSOR resources, and every other entry becomes a named RCDATA block with its bytes preserved. This works from the GUI and from the command line with the -conv switch. A separate article walks through that in detail.
Managed resources inside a compiled .NET assembly
This article is about standalone .resx and .resources files. Managed .resources streams that are already compiled into a .NET .exe or .dll are a separate case: open the assembly through File > .NET Resources to browse and extract those streams. That view is read-only. To change one, extract it, edit the resulting .resources file as above, and rebuild the assembly.
Note that this is only about managed resources. Native Win32 resources inside an .exe or .dll (icons, version info, manifests, bitmaps, dialogs, and the rest) are fully editable in place: open the binary, change what you need, and save it straight back.
Batch and command-line use
For repeatable jobs, sircc64.exe -conv converts .resx/.resources files (and on to native .res/.rc) across a list of files or a wildcard, with real process exit codes for scripting.
The Compare tool (File > Compare…) also works on .resx/.resources files, so you can diff one .NET resource file against another and see exactly what a translation pass added, changed, or removed.